Create guided, interactive checklists to drive onboarding, feature adoption, and ongoing success inside your product.
Before you start
Define the goal for the checklist (e.g., complete onboarding, adopt a feature)
List the key steps users must take to achieve the goal
Identify any success criteria or tracking events
Create a new checklist
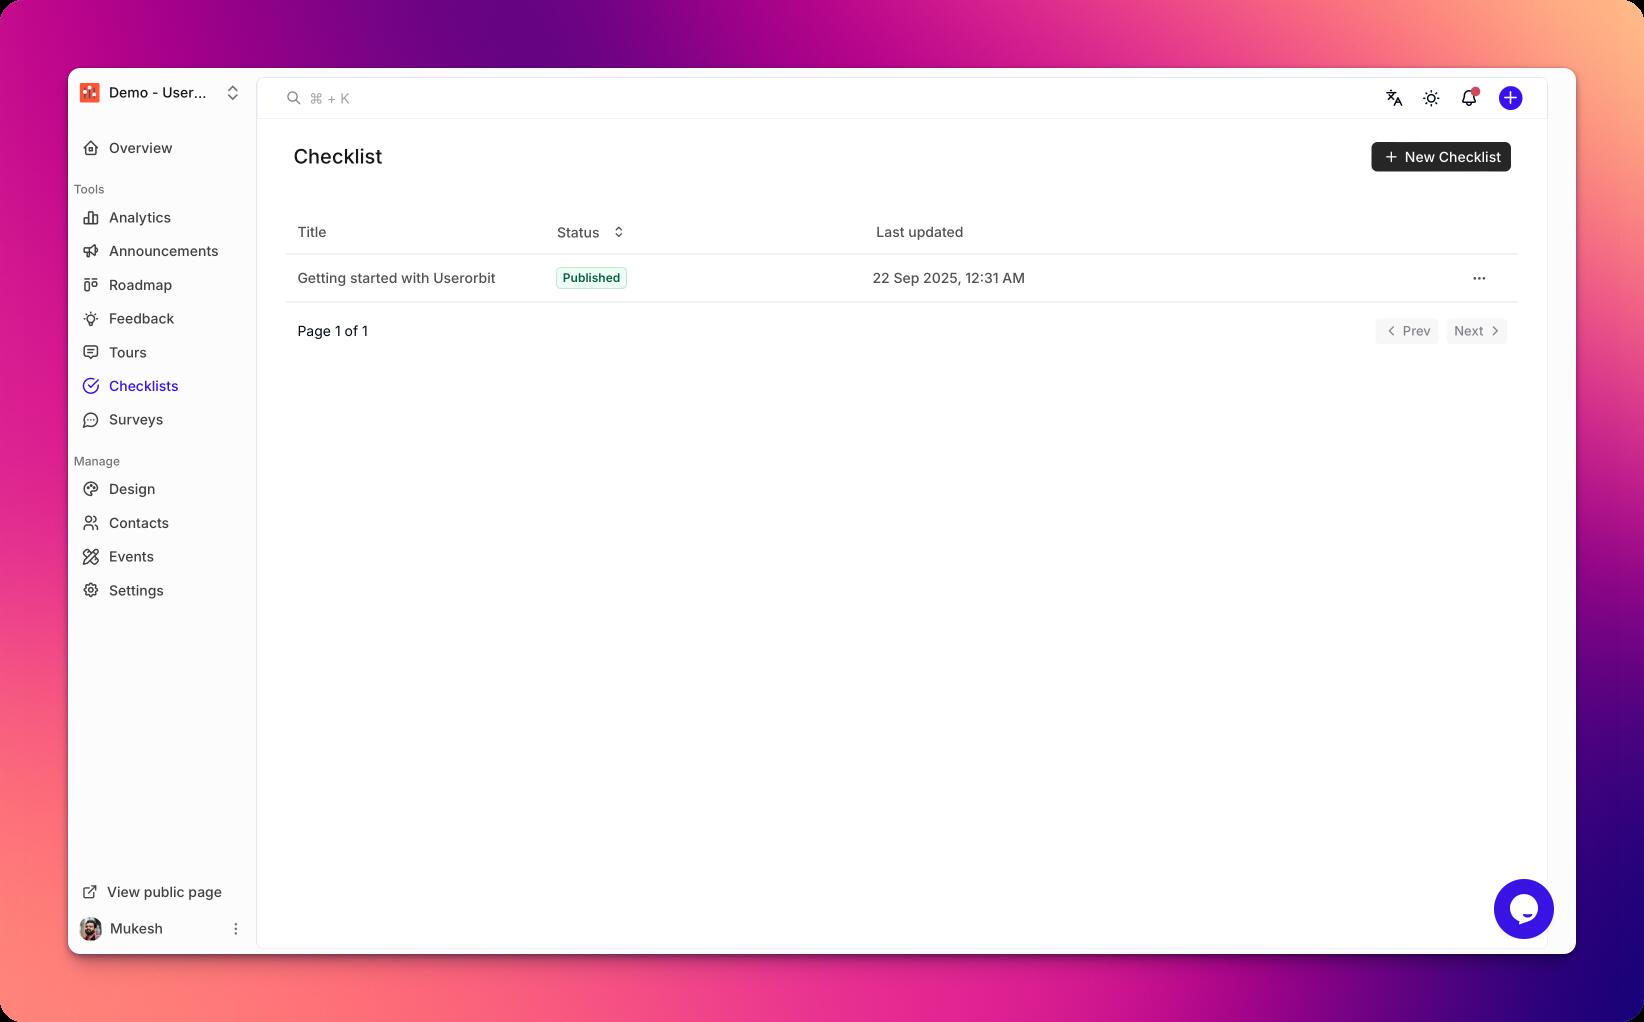
Go to Checklists in your Userorbit admin dashboard.
Click New checklist.
Name your checklist and add a short description
Choose the default audience or leave it open for now.
Add and organize steps
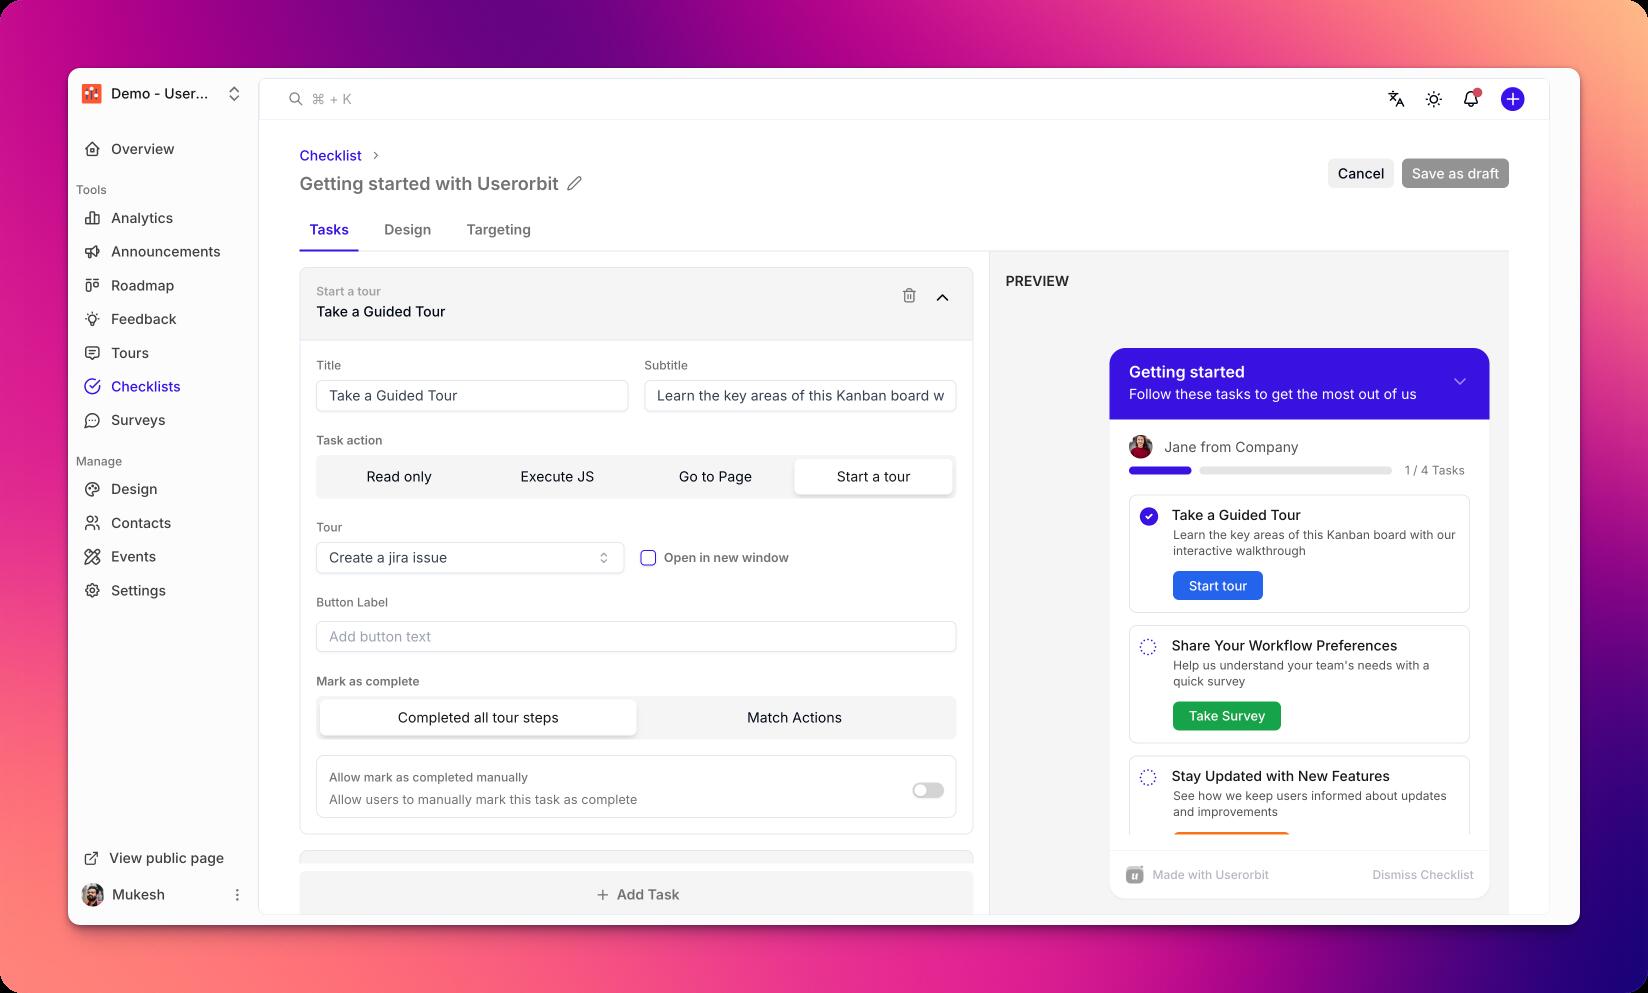
Click Add step to create a new item.
Provide a clear title and optional description.
Choose a completion condition:
Manual mark as complete
Event-based (e.g., user performed action)
Property-based (e.g., plan == Pro)
Reorder steps by dragging to set the ideal sequence.
Configure behaviors
Auto-open behavior (on first login, on specific pages)
Allow users to collapse/dismiss
Restrict to desktop or mobile
Completion celebration and follow-up actions
Preview and publish
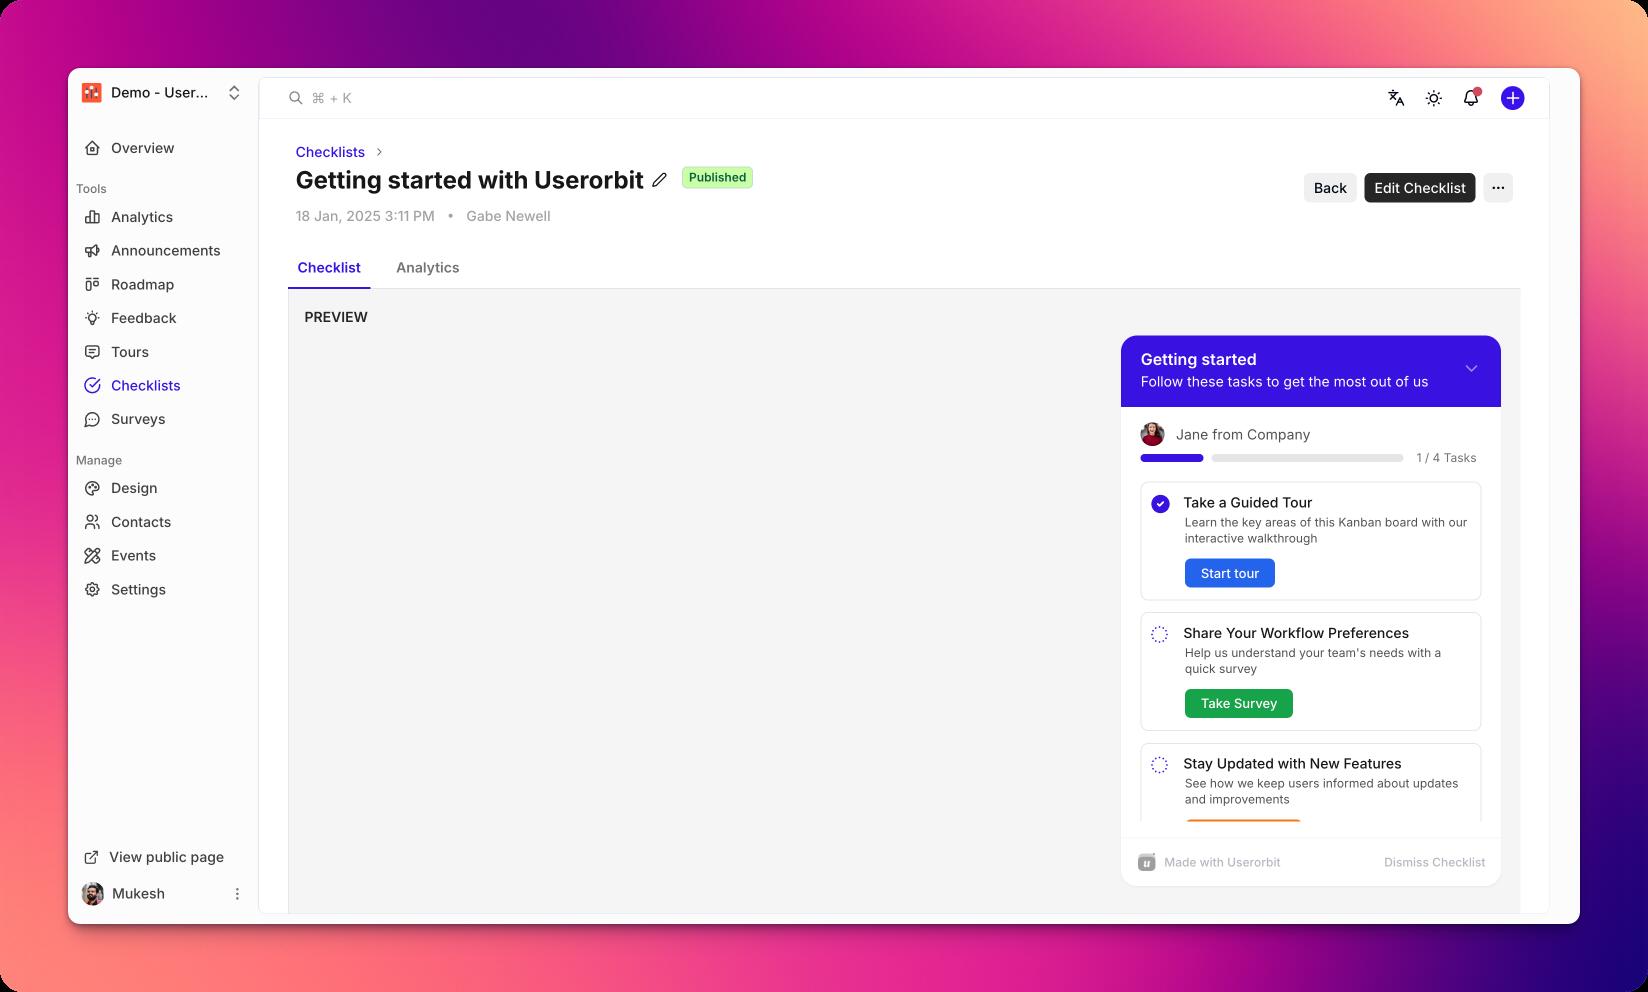
Click Preview to test the checklist experience.
Validate step completion logic and ordering.
Click Publish to make the checklist available.
Best practices
Keep step titles short and action-oriented
Aim for 3–7 steps per checklist
Use clear completion criteria to reduce confusion
Group advanced steps into a separate checklist
Troubleshooting
Steps not completing: verify event/property conditions and spelling
Checklist not visible: check audience targeting and publish status
Wrong order: drag to reorder and republish